4.2 Round 2: B1, B2 and B3
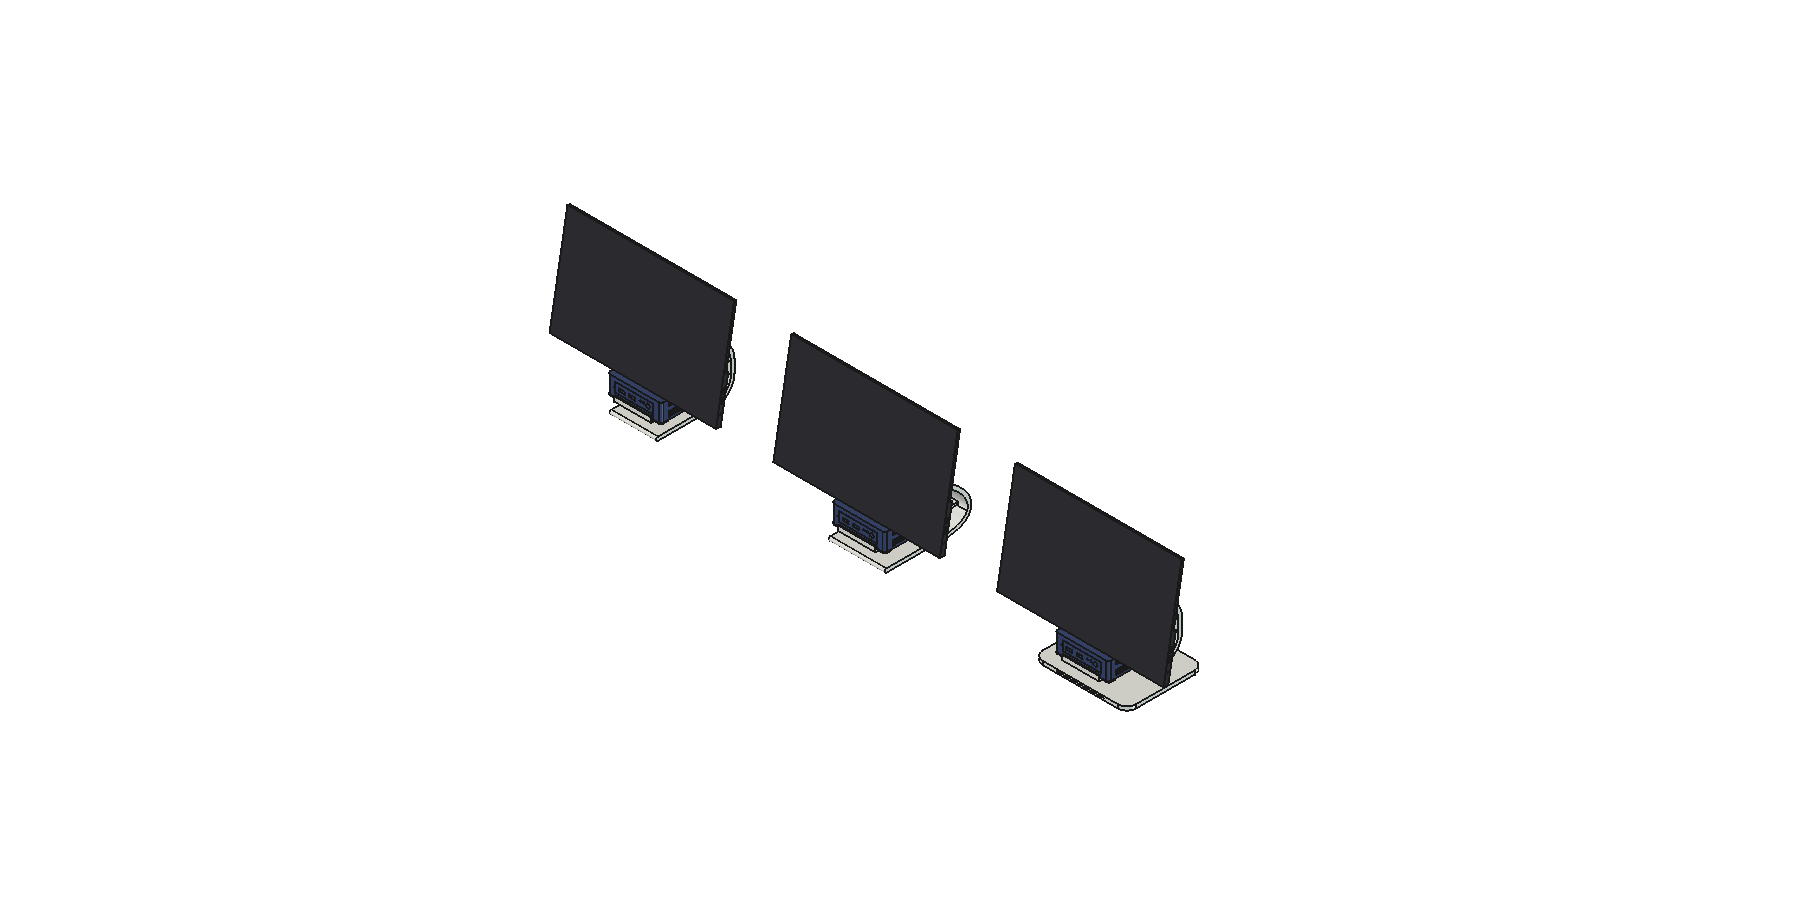
For round 2 I added a rule: the screen's bottom edge, the PC's front and the stand's front end on one line, with nothing further forward. The line is the front of the tray's lip, 3.2 mm ahead of the PC's face. The checks confirm the screen and the stand both end on it.
| B1 Flush | B2 Swoosh | B3 Pedestal | |
|---|---|---|---|
| Form | B pulled back to the line: 100 mm band, tight bends, straight runs | One smooth curve from the foot round behind the PC to the screen; 120 mm band | B1 on a flat 200 × 165 × 8 mm foot |
| Footprint | 100 × 129 mm | 120 × 135 mm | 200 × 165 mm |
| Push to tip: forward, back, sideways | 1.4, 3.8, 2.0 N | 1.6, 4.0, 2.5 N | 1.7, 5.3, 4.2 N |
| The same with 1 kg of ballast at the back of the foot | 4.3, 5.0, 3.6 N | 4.6, 5.3, 4.4 N | 5.7, 6.6, 7.4 N |
| Parts | 3 | 3 | 4 |
| Print time and PLA | 4 h 46 min, 194 g | about 5 h 50 min, 230 g | 6 h 45 min, 305 g |
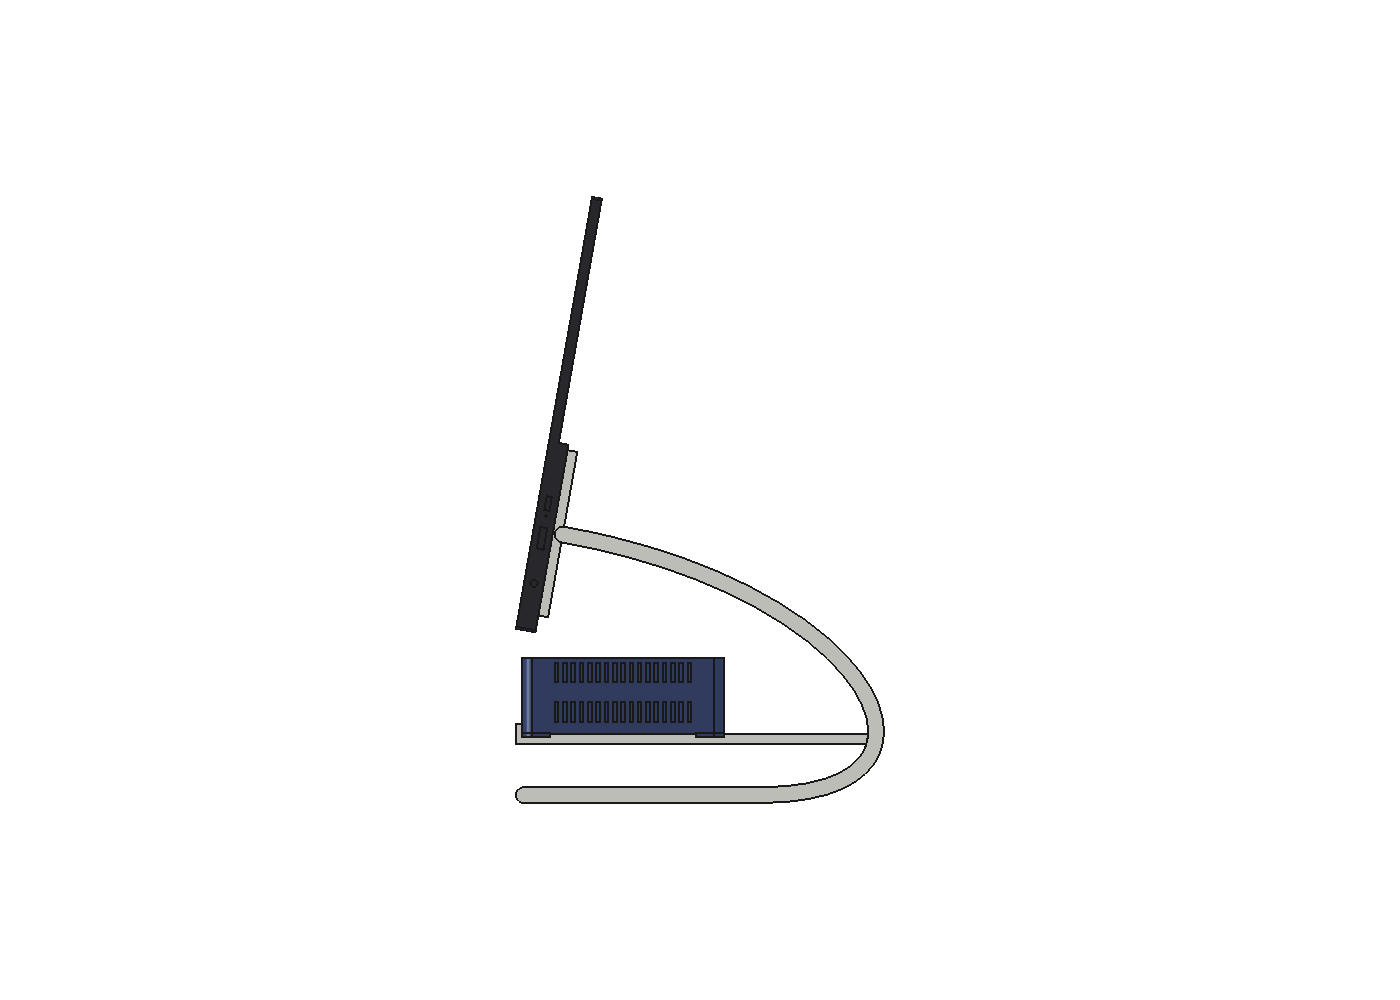
What the flush front costs
With the foot no longer reaching forward, the centre of gravity sits only 35 to 40 mm behind the front edge. About 1.5 N at the top of the screen pulls any of them over forwards.
Ballast at the back of the foot does two things: it adds mass, and it moves the centre of gravity back, away from the front edge. On B3, 1 kg there raised the forward figure from 1.7 to 5.7 N. Every derivative needs it.
Splitting for the A1
Each derivative splits into parts that fit the A1 and print without supports, each in its strong orientation:
- The band prints on its side. The curve lies on the bed, so bending runs along the layers, not across them.
- The tray and VESA plate print flat, holes vertical.
- B3's foot prints flat.
FDM layers bond at 50 to 70% of the strength within a layer, so orientation is a design decision, made before the details.
I leaned towards B2. Then I looked harder at how the parts actually joined.