9.4 Stand v4.1
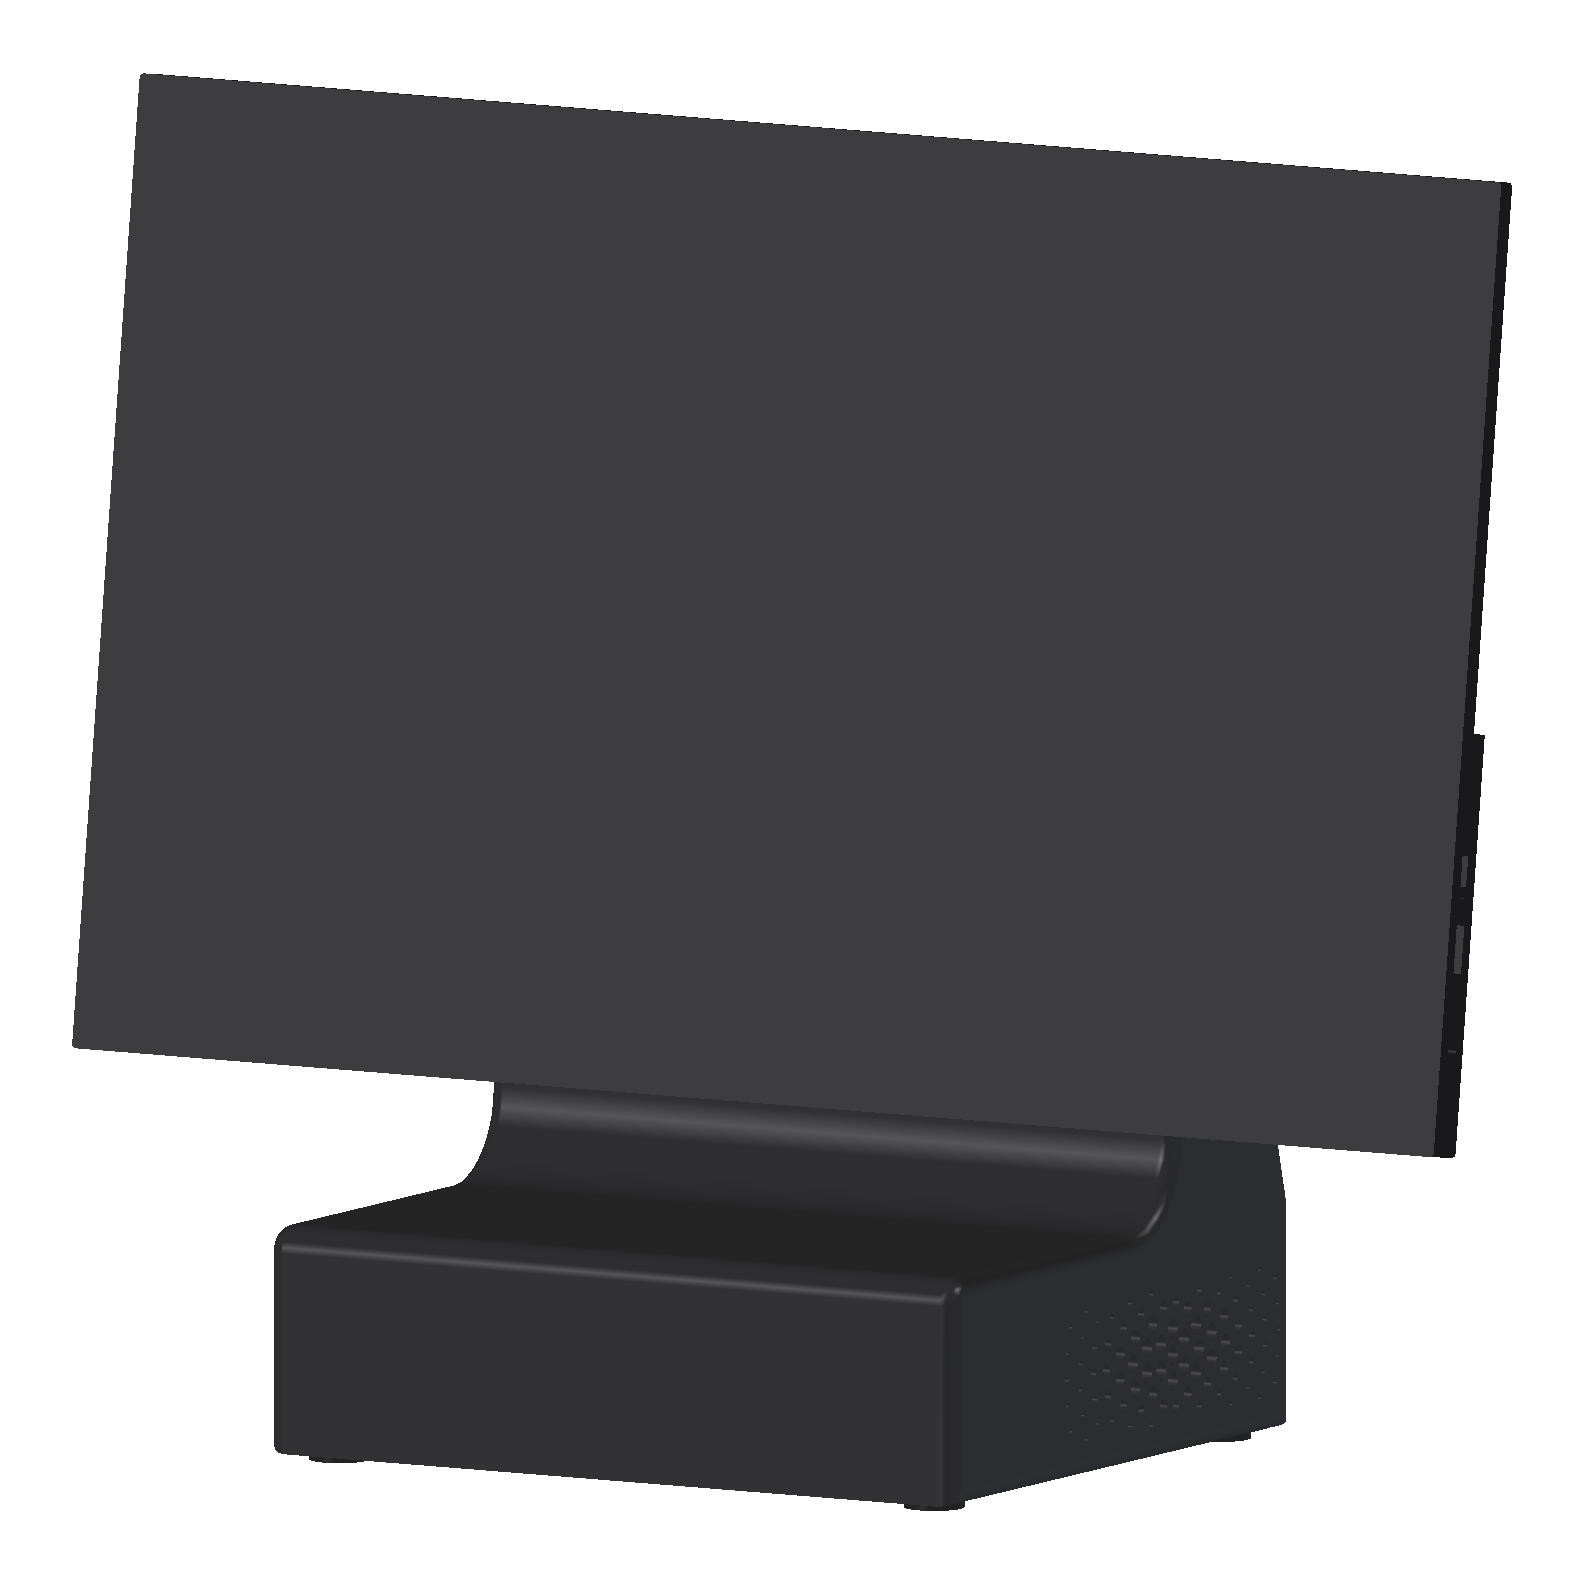
I looked at v4 (9.3) for a while and didn't like three things. The base reached a long way out in front of the screen, and it still tipped backwards at 4.2 N. The case round the screen looked almost exactly like the monitor's own frame, so it was a lot of printing for nothing. And the PC's power button was shut inside the base.
v4.1 fixes those, and adds one thing I wanted from the start: the screen tilts.
The reference
Same method as v4. I had ChatGPT draw the side view I wanted: a short base, an arm that rises from the back and leans forward, and the screen held out over the base on the arm's tip. Then Claude built it in FreeCAD.
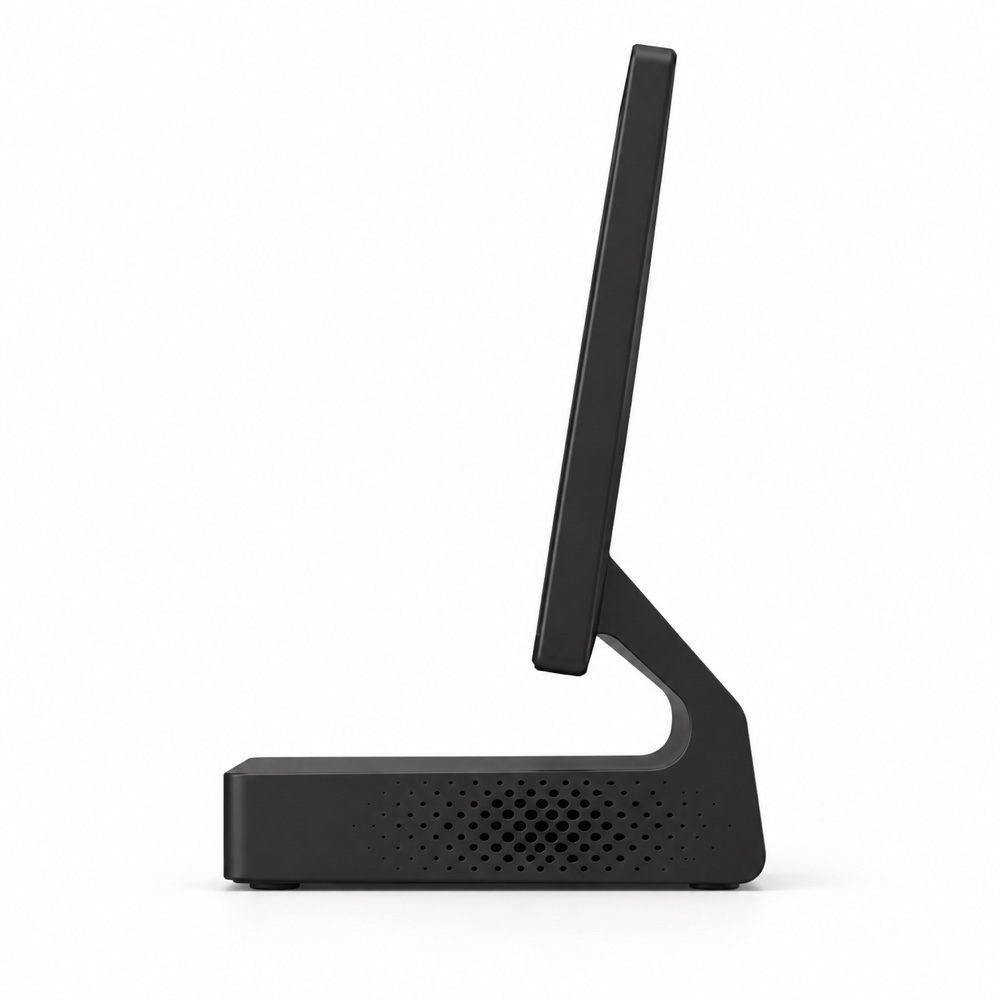
What changed
| v4 | v4.1 | |
|---|---|---|
| Base | 250 × 200 mm | 180 × 154 mm, sized round the PC |
| Screen | Held at the back of the base | Over the middle of the base |
| Case round the screen | Two printed halves | None. A VESA plate on the monitor's back |
| PC | Front to the front, power button inside | Turned 180°, power button at a back opening |
| Tilt | Fixed at 10° | 8° nominal, from -2 to 18° |
| Ballast | None | Trays of M6 nuts and bolts |
| Printed parts | Body, cap, floor, two case halves | Body, cap, floor, plate |
The PC, turned round
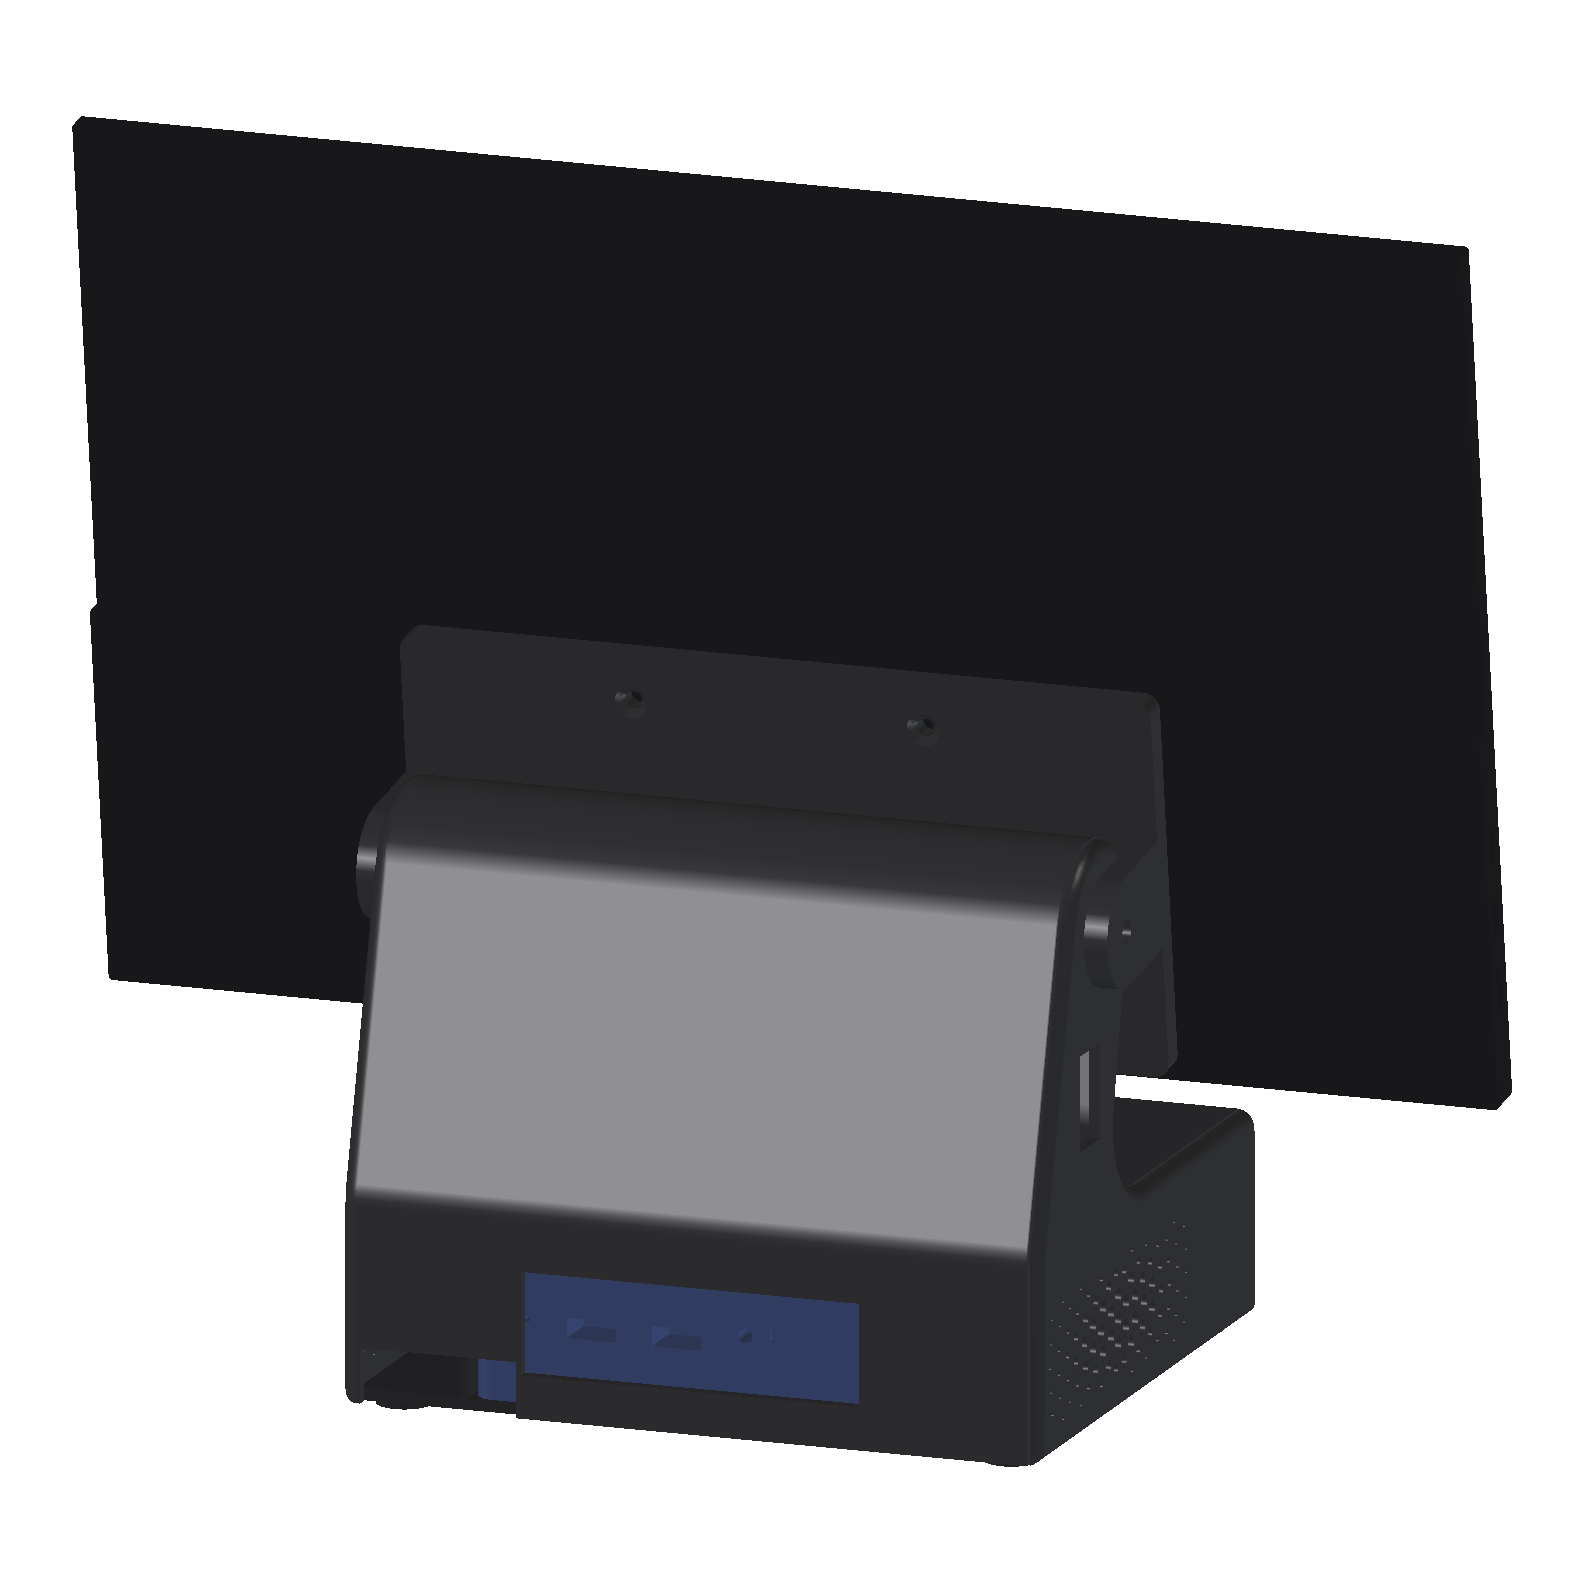
Turning the Beelink round sorts out two problems at once. Its front, with the power button and two USB-A ports, now faces an 87 × 26 mm opening in the back wall, so I can turn it on and plug a stick in without opening anything. Its rear, with the HDMI and the DC power, now faces a 45 mm plug bay inside the front of the base. Those are the cables that never change, so they stay inside. They run along the PC's side, up the hollow arm, and out through a notch in the left side, under the hinge.
The tilt hinge
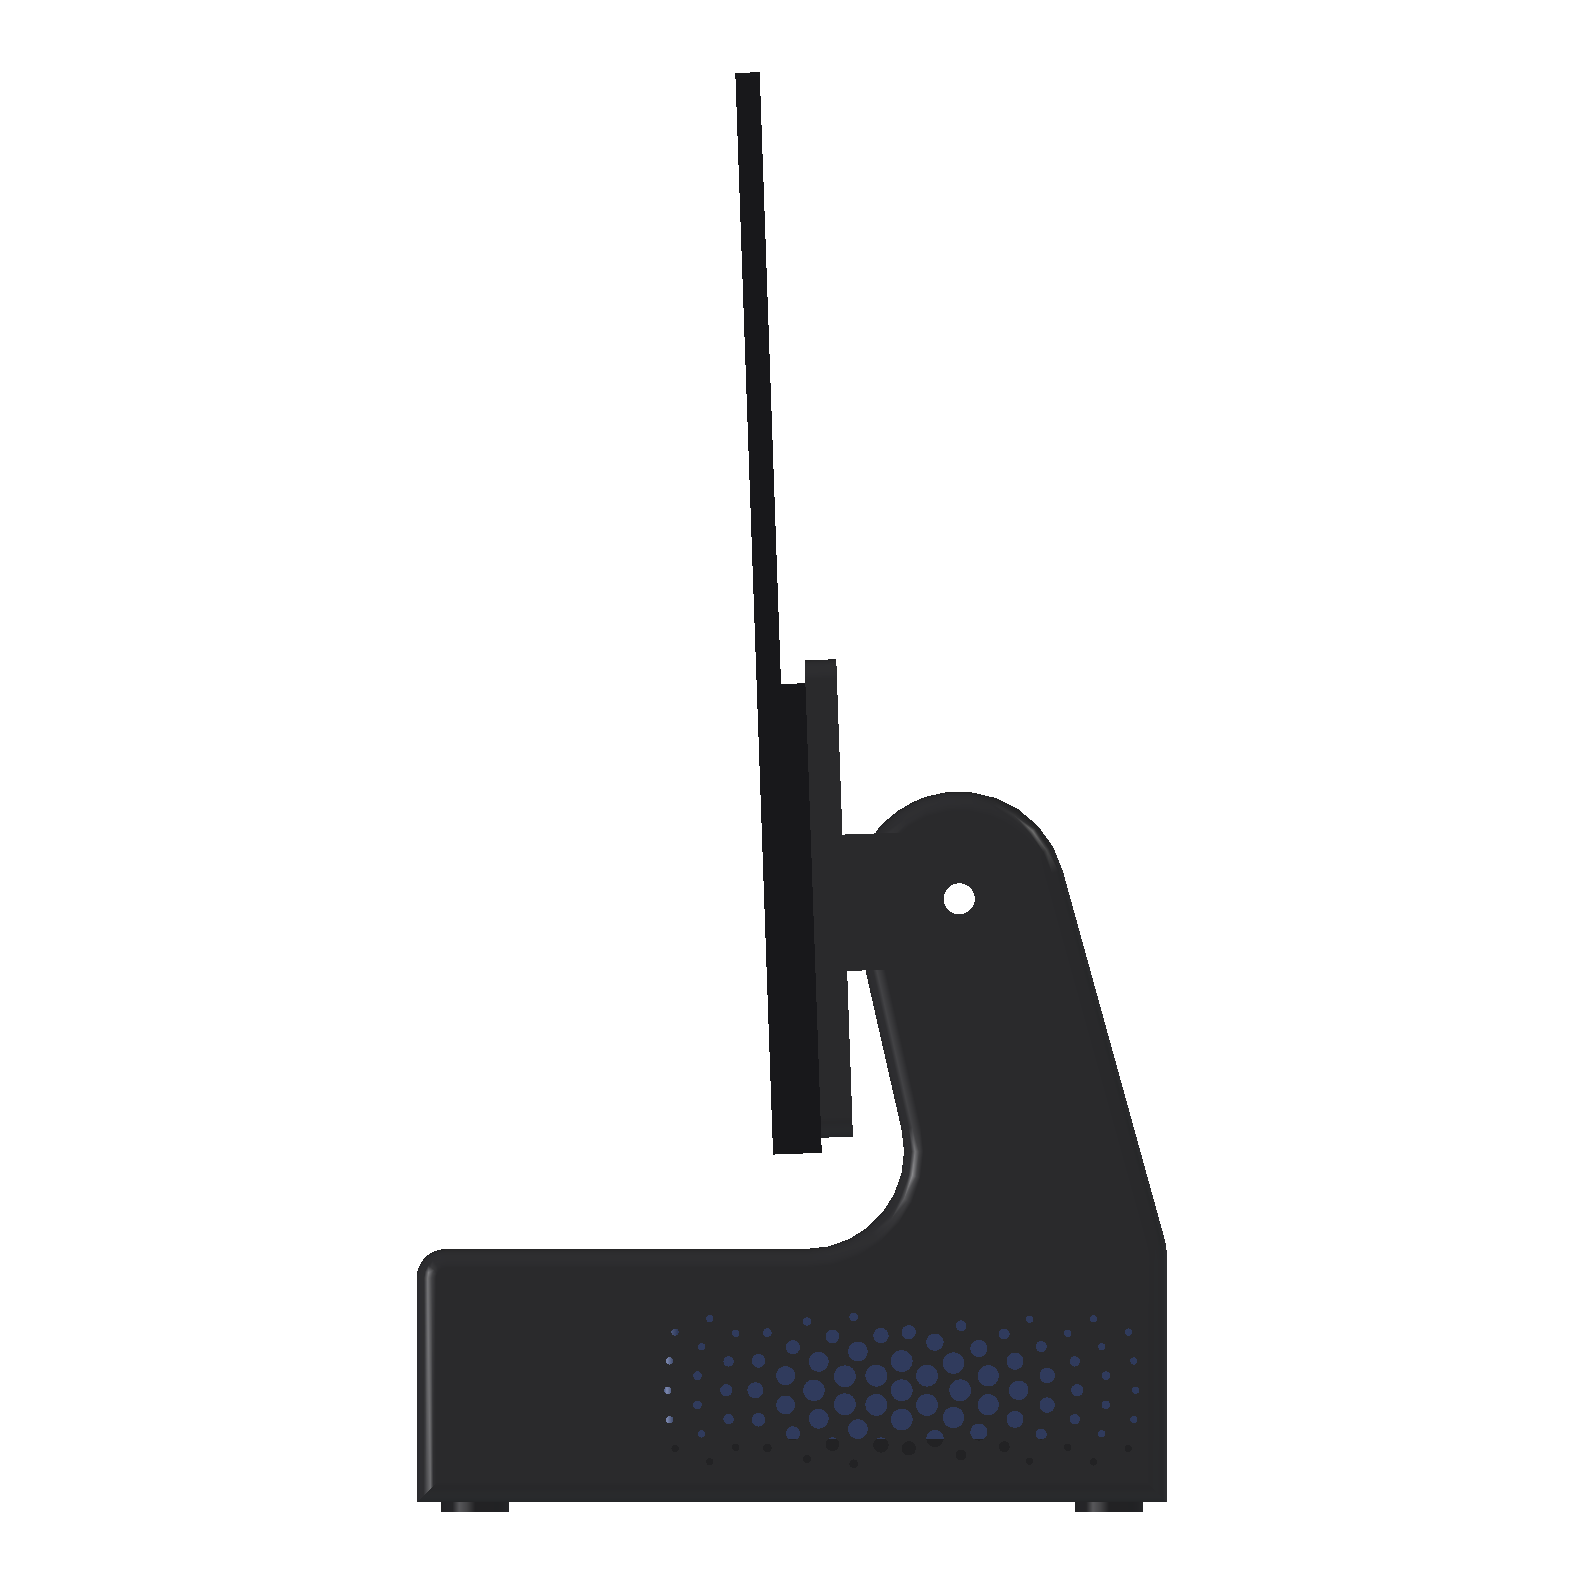
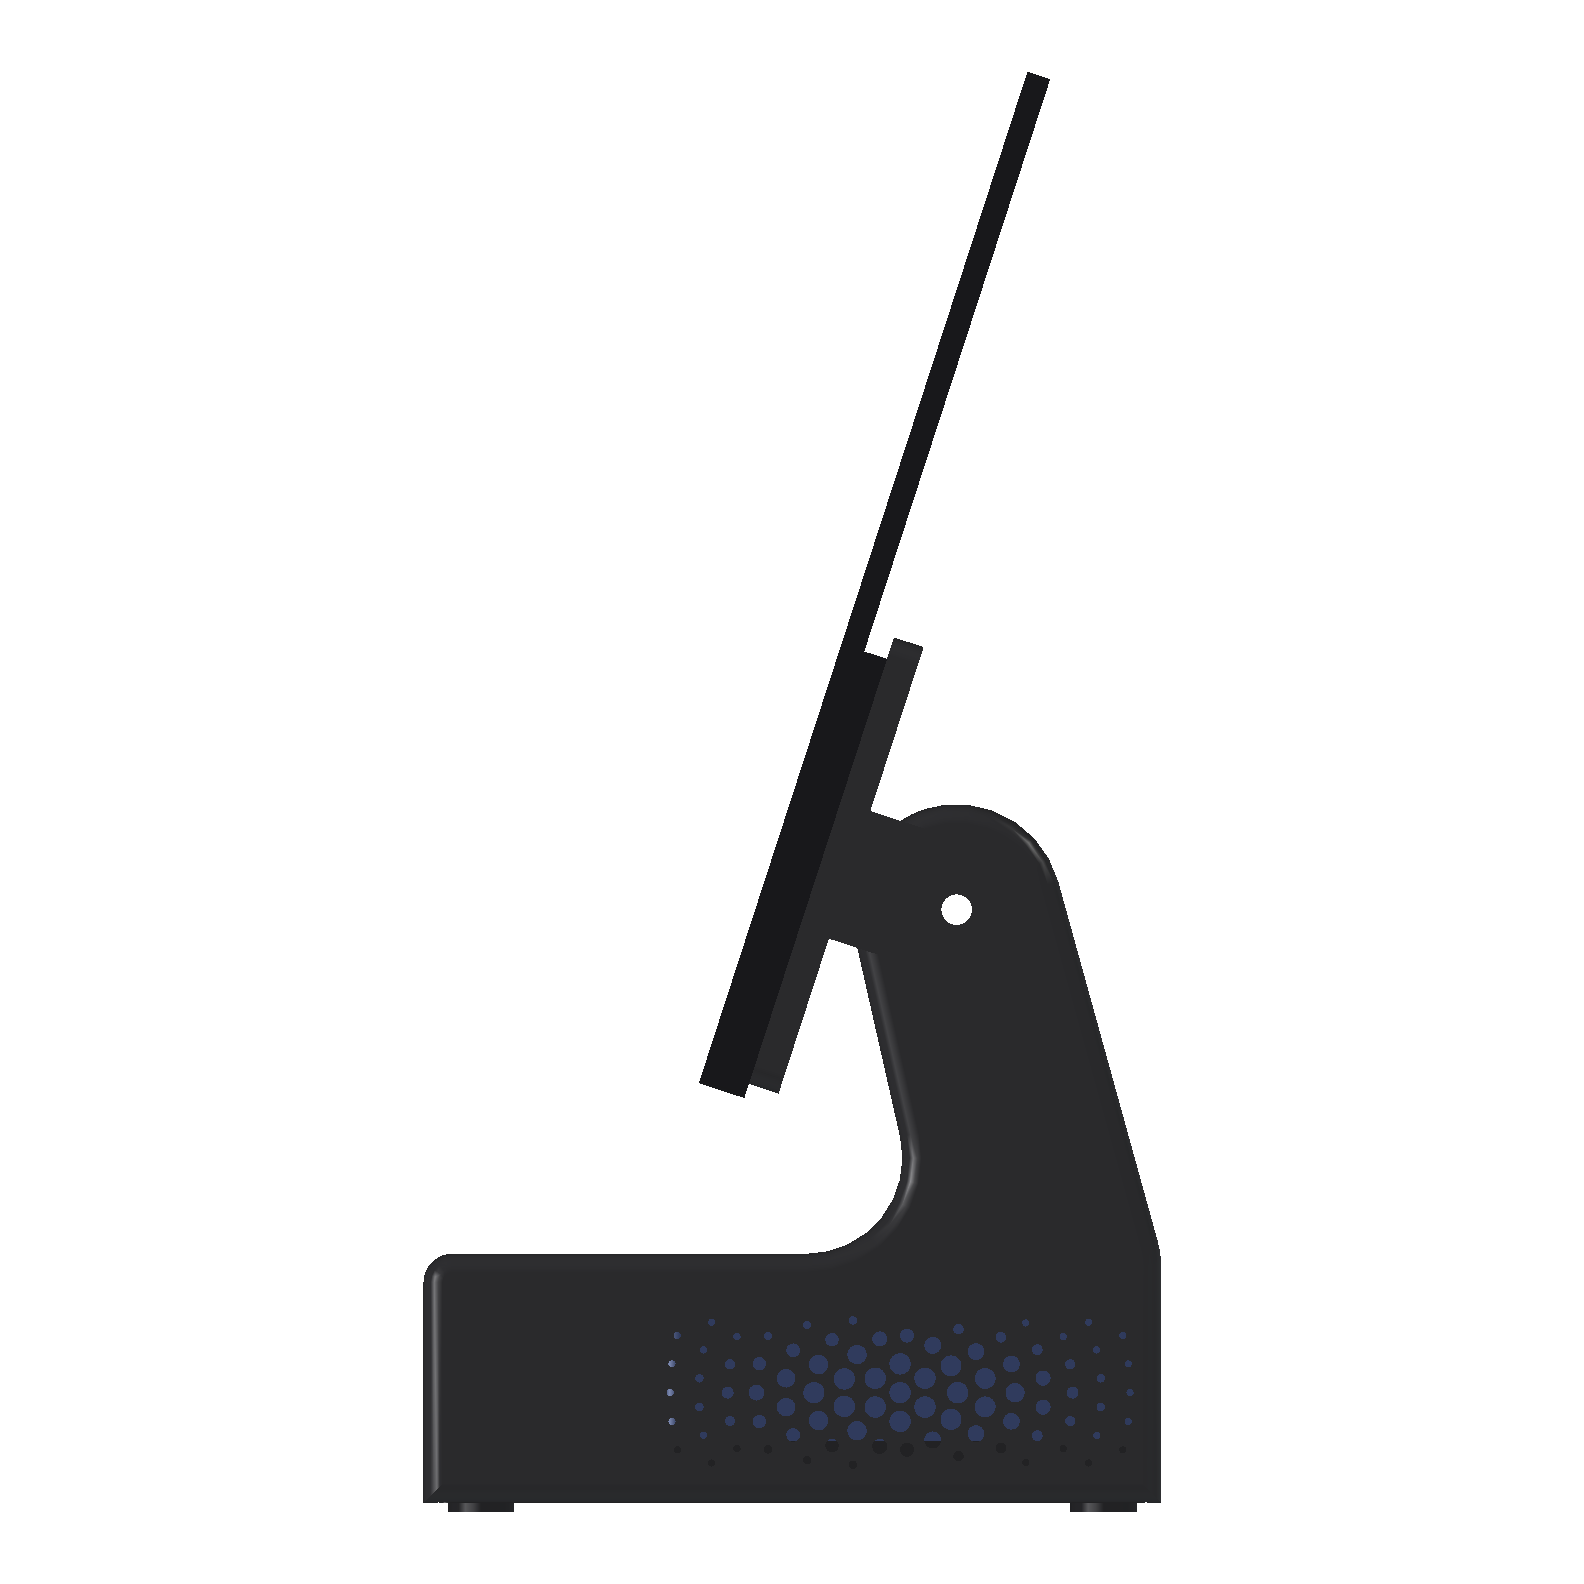
The arm ends in a round hub, 22 mm in radius. The VESA plate bolts to the monitor with four M4 × 10 countersunk screws, flush, which leaves 3.5 mm in the 3.6 mm inserts. It has a cheek on each side that sits over the hub. An M6 bolt through each cheek goes into a nut in a slot in the hub, so tightening the bolts clamps the cheeks on the arm. It's a friction hinge, and the bolts set how stiff it is.
The axis sits about 23 mm behind the monitor's back, so the screen's weight always tries to tip it forwards: 0.17 to 0.33 N m across the range. With an assumed PLA-on-PLA friction of 0.3, about 170 N of clamp per bolt holds three times that. A hand-tight M6 gives far more than that, but PLA creeps, so the bolts get spring washers.
The cheeks go on the plate, outside the arm, and that's a print decision. The body prints on its side, as v4 did. A slot in the arm for a tongue on the plate would mean a large bridge in the air. Cheeks on the plate print as plain walls straight up from a flat part.
Ballast from the parts drawer
I don't have steel plate, and I'd rather use what I've got: M6 bolts and nuts. The floor has a 10 mm rim round the PC's footprint, and the trays outside it hold 127 cm³. Loose nuts and bolts pack to about half the density of steel, so a guess of 3.9 g/cm³ gives about 0.5 kg.
Balance
The same check as every stand since 6, now on the feet, with the push at the screen's top edge, about 300 mm up:
| Tilt | Ballast | Mass | Front | Back | Sides |
|---|---|---|---|---|---|
| 8° | none | 1.65 kg | 4.4 N | 3.3 N | 4.6 N |
| 8° | full | 2.14 kg | 5.3 N | 4.8 N | 5.9 N |
| -2° | full | 2.14 kg | 5.1 N | 5.1 N | 6.1 N |
| 18° | full | 2.14 kg | 5.6 N | 4.5 N | 5.9 N |
It's better than v4's 4.2 N and it passes the 10° tilt test everywhere, but the back is still under v3's 5.1 N. With the ballast in, the front and back are nearly even, so moving the screen won't lift both. Only more depth, more mass or a lower screen will. A base 15 mm deeper would give about 5.5 N at the back. And all of it still assumes a 0.8 kg monitor I haven't weighed.
What's still open
- The monitor's mini HDMI and USB-C power are on its left edge, 89 mm left of the arm. A straight plug sticks out of the side. A right-angle plug or a flat ribbon kit should fix that later.
- The monitor needs 5 V at 3 A on USB-C, and the PC has no USB-C. That means a second supply, unless it runs on the 0.9 A a USB-A port gives.
- The joints between the body, the cap and the floor aren't designed yet.
Paused here
I'm pausing this line here. v4.1 is a good, checked massing model, and I'll come back to it. First I want to try a different idea for the project (10).