11.6 On the shelf
A build guide drawn from the model
For the rest of the build, Claude rendered eight pictures from the FreeCAD model: stop screw, spine nuts, arm, swivel nuts, plate, friction and lock, screen, cables. The parts for each step are in orange, and blue arrows show the way they go.
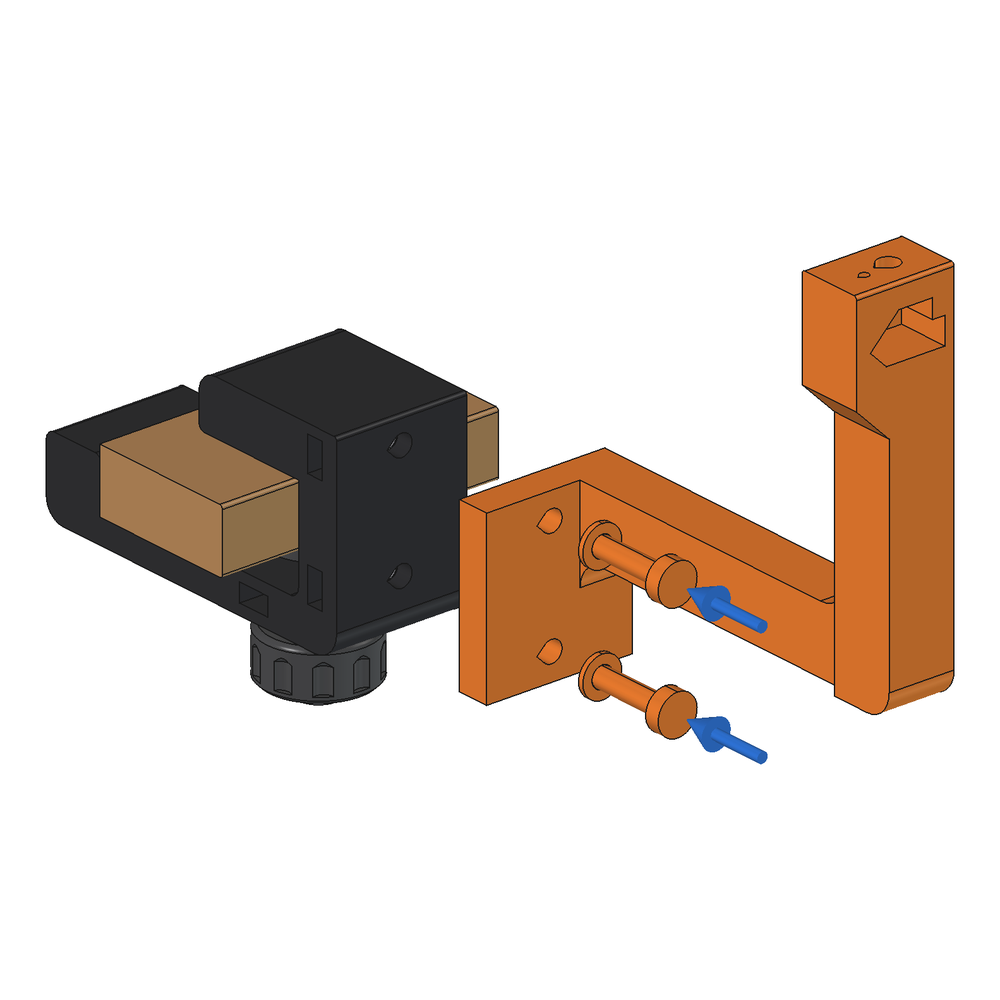
The first draft was a long page with checklists. I said that style was perfect, but I didn't want much verbosity, just the graphics and a few annotations.
On the guide page, numbered callouts sit over each picture, and the script places them, not me. It projects each model point with the same camera rotation as the render, and the cropped picture spans the projected extent of the shapes, so a point maps straight into it. If I re-render, the callouts move with the parts.
There's one trap. A point on a face hidden from the camera, such as the screen's bottom face seen from above, lands off the visible edge.
Fitted
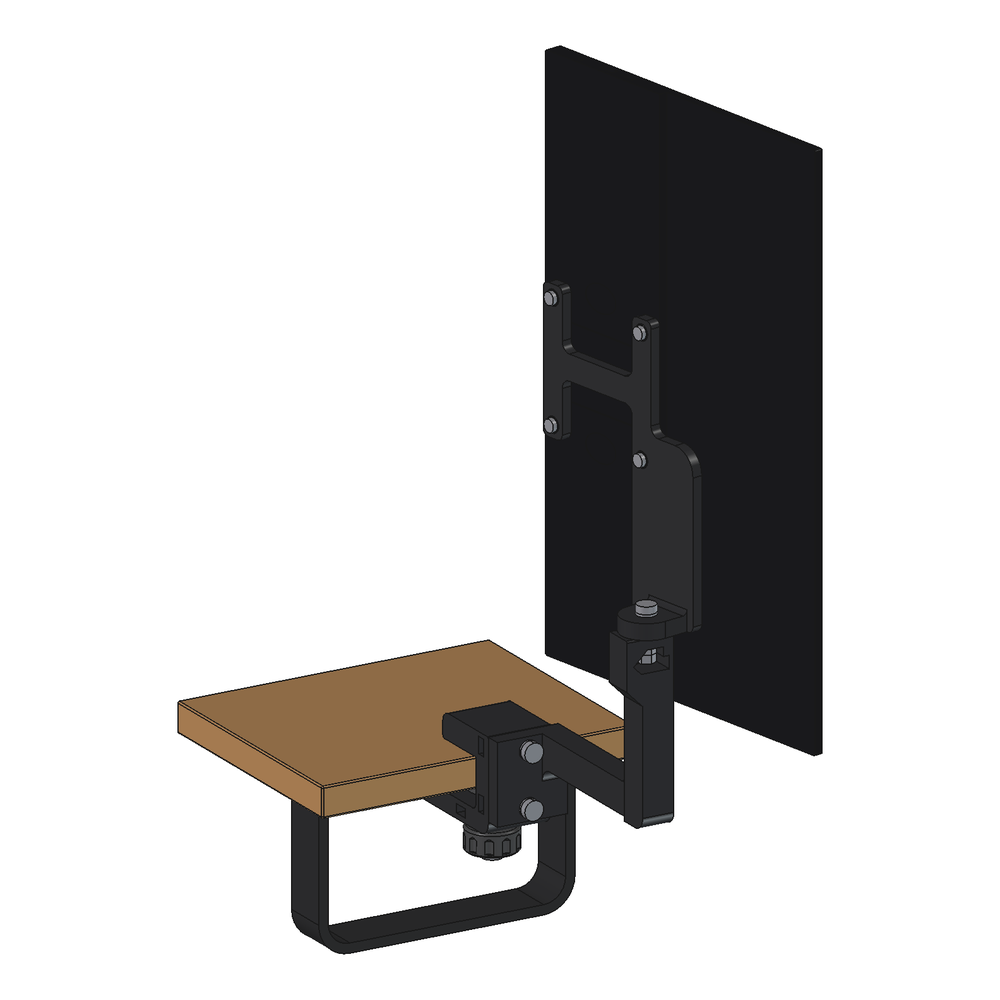
I fitted the arm, the plate and the screen from the guide, and the screen holds well. Like the main monitor, it can wobble. The A1 prints on the same desk, so it gets a wobble test next.
Everything printed for the mount, including the failures:
| Time | Filament | |
|---|---|---|
| Test blocks and knob | 31 min | 9.47 g |
| Print 1 (with the failed clamp) | 4 h 17 min estimated | 153.1 g estimated |
| Print 2, the clamp alone | 2 h 23 min | 74.9 g |
That's about 237 g of black PLA.
Claude modelled and checked everything in FreeCAD through the MCP server. ChatGPT drew the reference images earlier in the project, and this time set up a second copy of the print project with the clamp's own settings, in case Bambu Studio dropped them. I printed through the Bambu app and did every fit by hand.
Next: the PC
The screen is done. The next focus is mounting the mini PC under the same shelf.
I had grand ideas for this project: five stands, a design language, halftones and shadow gaps. What's on the desk is a clamp, a bar and a plate, and it's exactly what I wanted. Practicality usually wins.